


How to Create a Garden Fresh Flower Arrangement
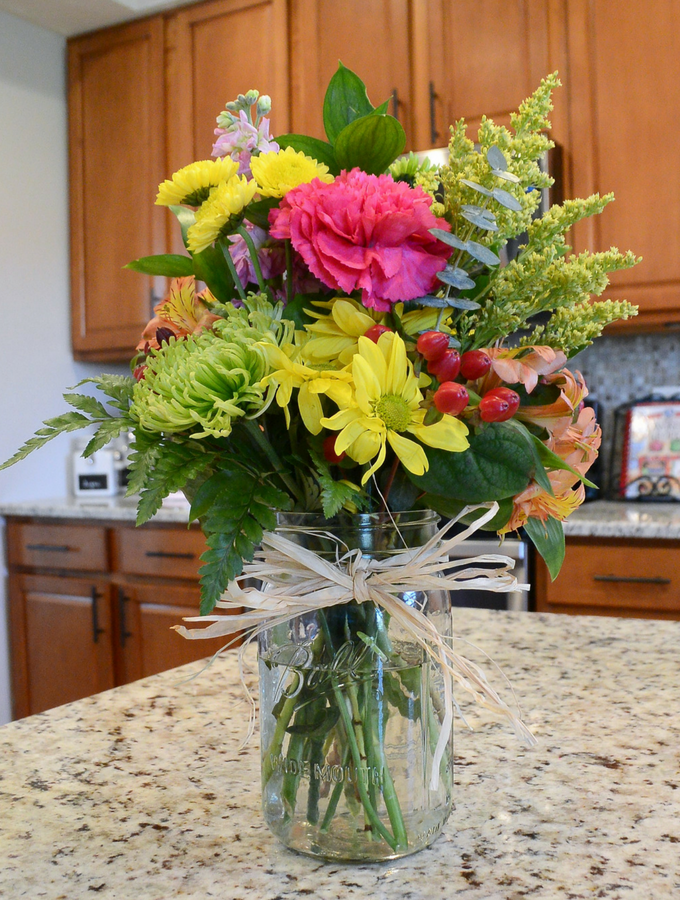
Learn to make a flower arrangement with fresh ingredients from your garden!


Learn to make a flower arrangement with fresh ingredients from your garden!